Building Atomic Keyboard
Like the majority of the people nowadays, I interact with a computer most of my day - either for work or for leisure. Anything that makes working with a computer more comfortable or healthier can make a big difference. A year ago I managed to get one of these standing desks and I started looking a bit more on the keyboard side of things.
I started reading more and more on /r/MechanicalKeyboards and I sold out on the benefits of mechanical keyboards. I started to read only to realize there are way too many choices: from different switches and keycaps to different keyboard layouts, the mechanical keyboard can be overwhelming for a newcomer!
I decided I wanted something compact, customizable at will and programmable. The only thing I didn’t want was flashy LEDs. After ordering and testing different kind of key switches, I settled for the Cherry MX clear switches - a switch that offers a good balance between noise and how “tactile” they feel (note: you can read more about them here)
With those requirements in mind, I had a hard time finding the keyboard of my dreams - the closest I got was the Pok3r which has 3 layers but I was turned off by the flashy LEDs.
Then… one day I heard about the ortholinear keyboards and got intrigued by the layout and the customization options they offer: you can basically build one of their keyboard with any option of switches, layouts and keycaps. They are also completely programmable! I was sold immediately.
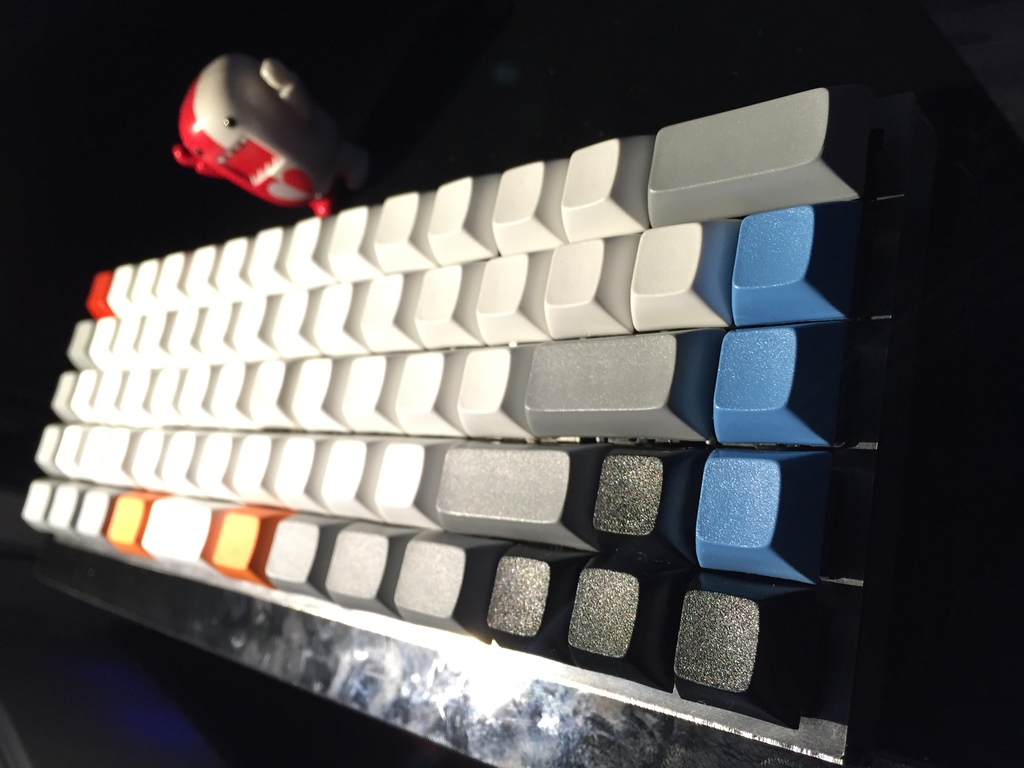
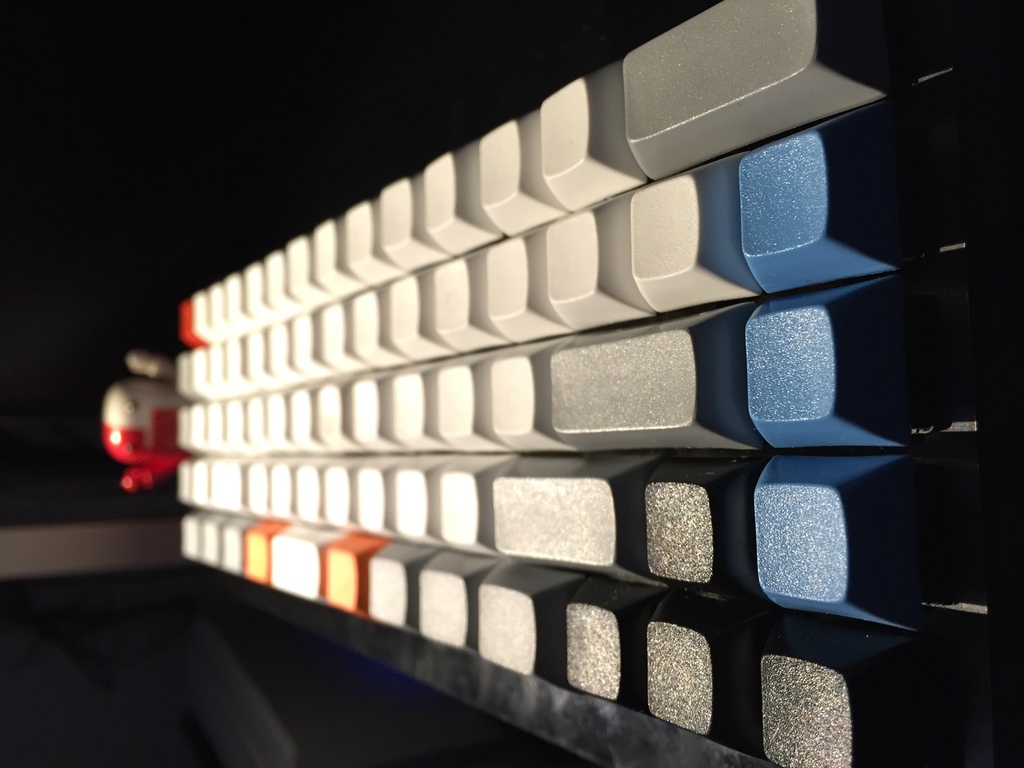
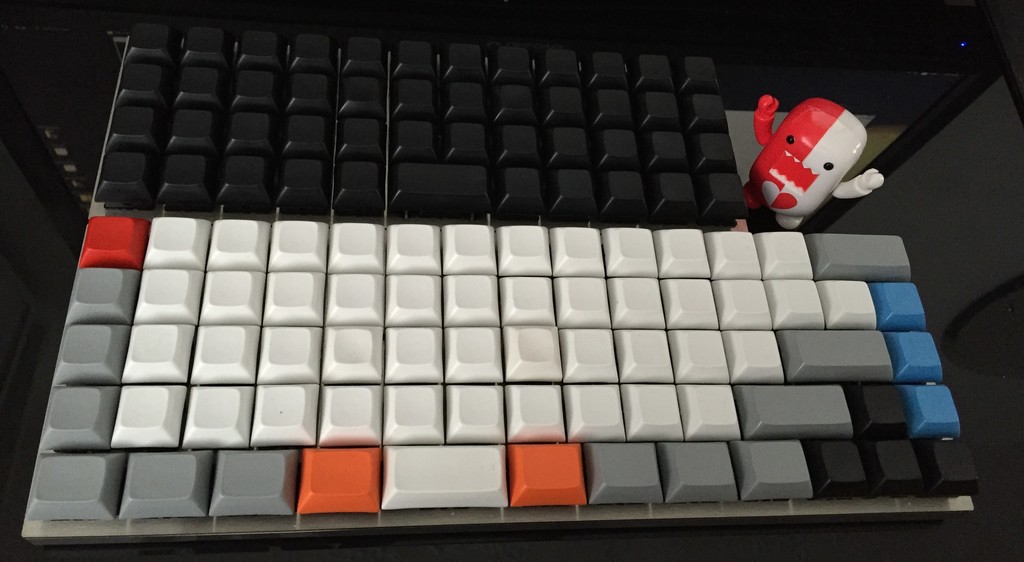
I bought a Planck a 40% keyboard with Cherry MX Clears, MX PBT Keycaps. I opted to pay for pre-assembly as I didn’t have the tools to make the assembly at that time. Although I love that keyboard, the extremely small form layout was not ideal for my day-to-day use. I decided then to order another keyboard from the same site: the atomic! Jack (the keyboard creator and owner of the website) reached out in reddit for people willing to buy and test the PCB prototype for the atomic and I jumped into the occasion. I reached out to him and bought one complete set.
This article will go through the assembly of the keyboard! NOTE: for this assembly I followed the official assembly guide
Unboxing / Preparation
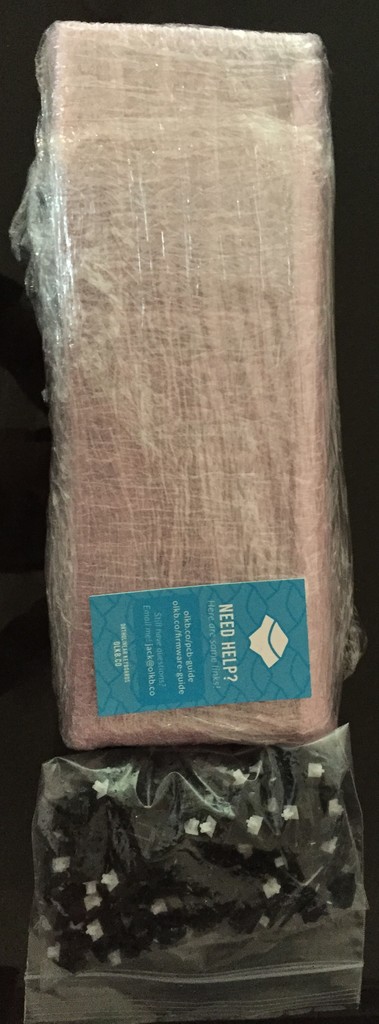
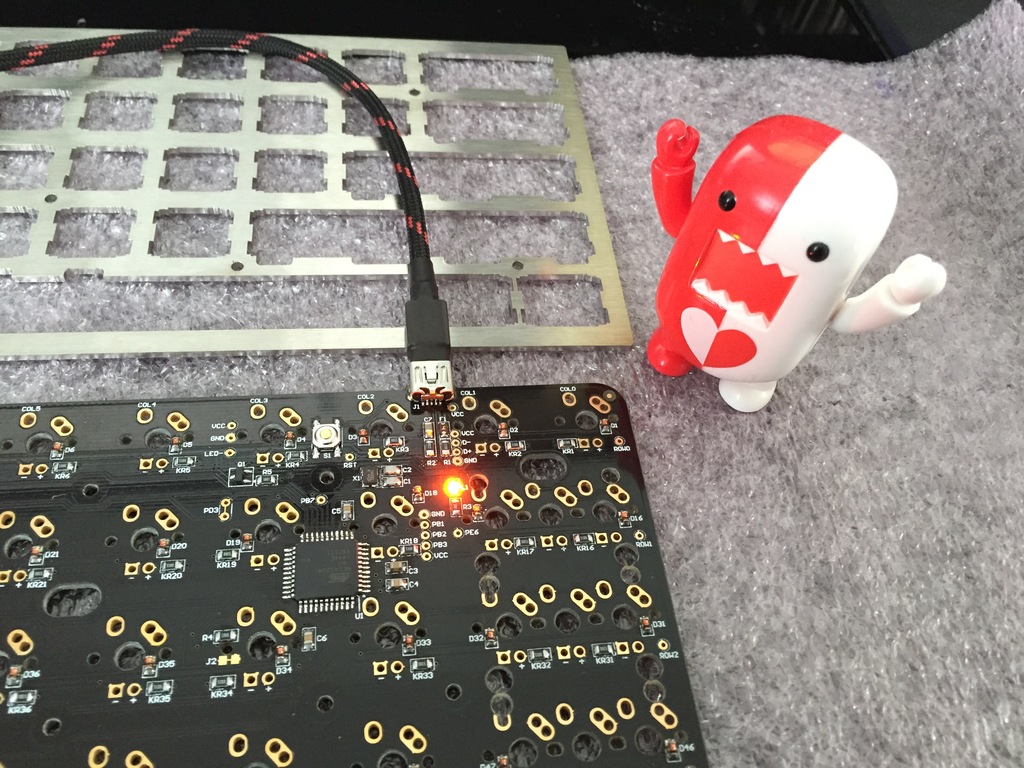
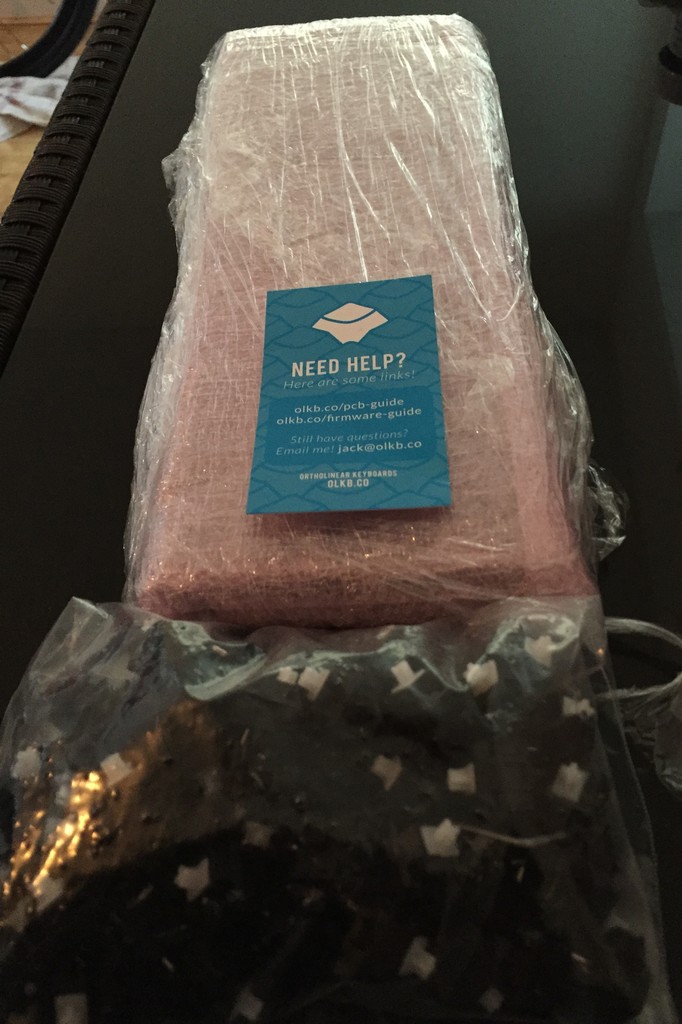
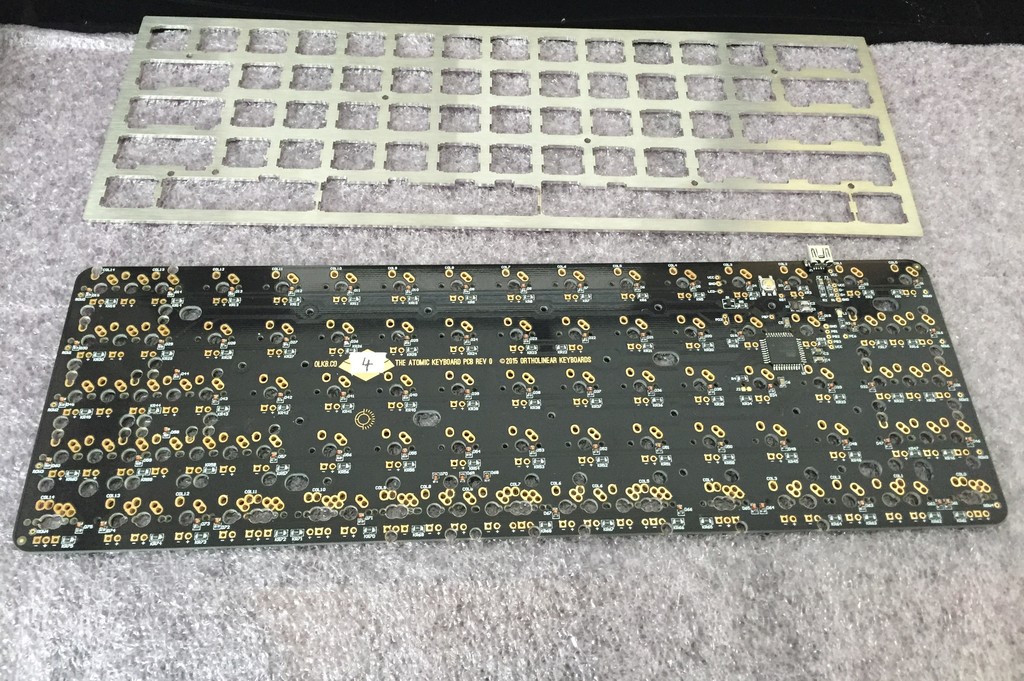
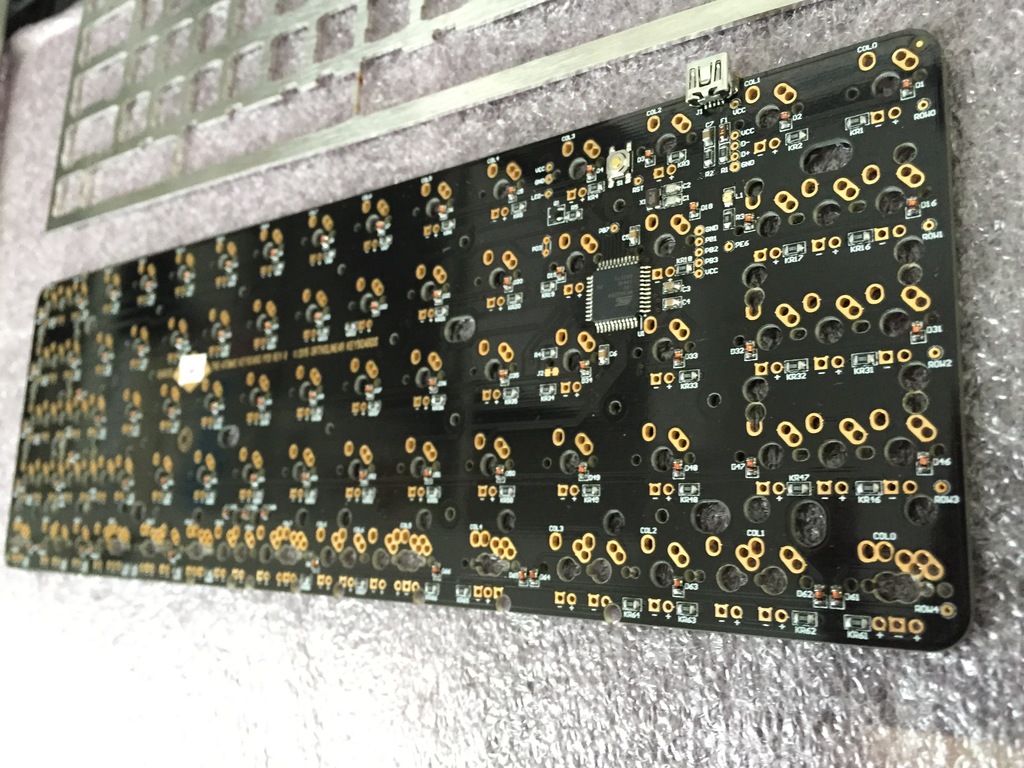
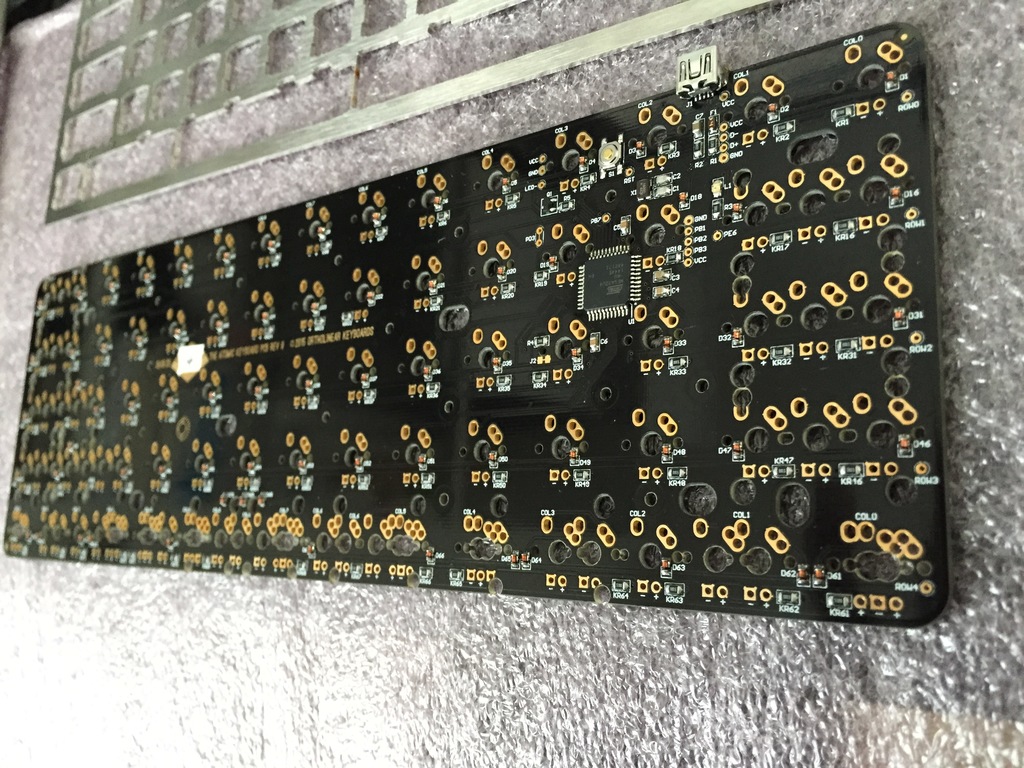
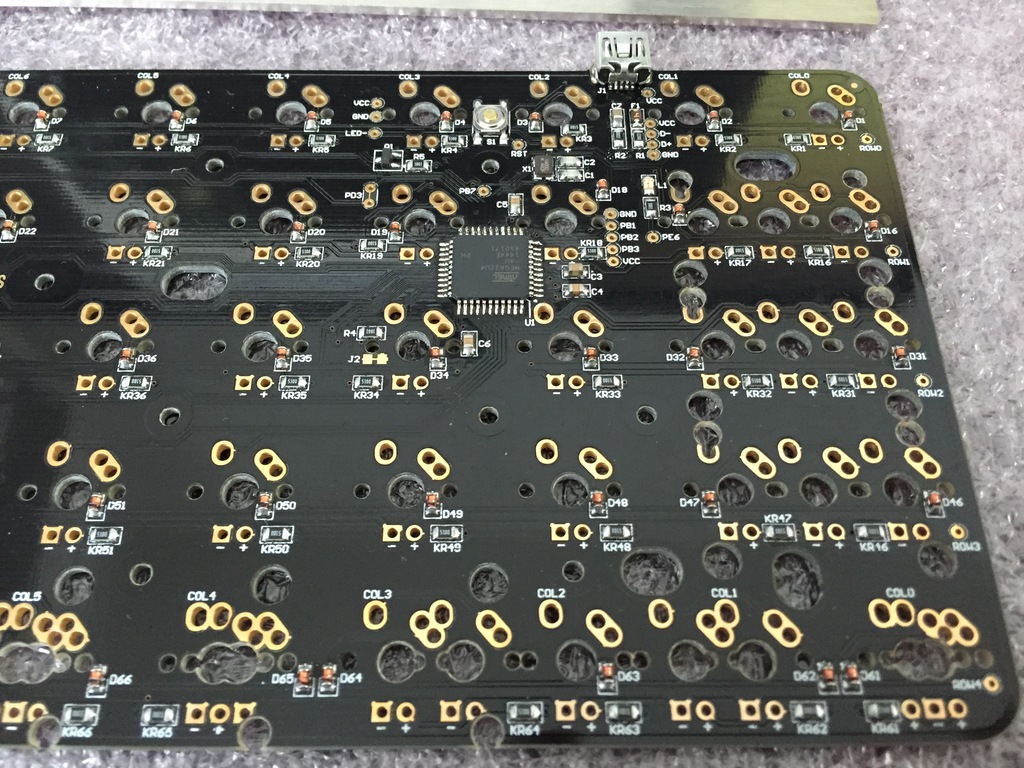
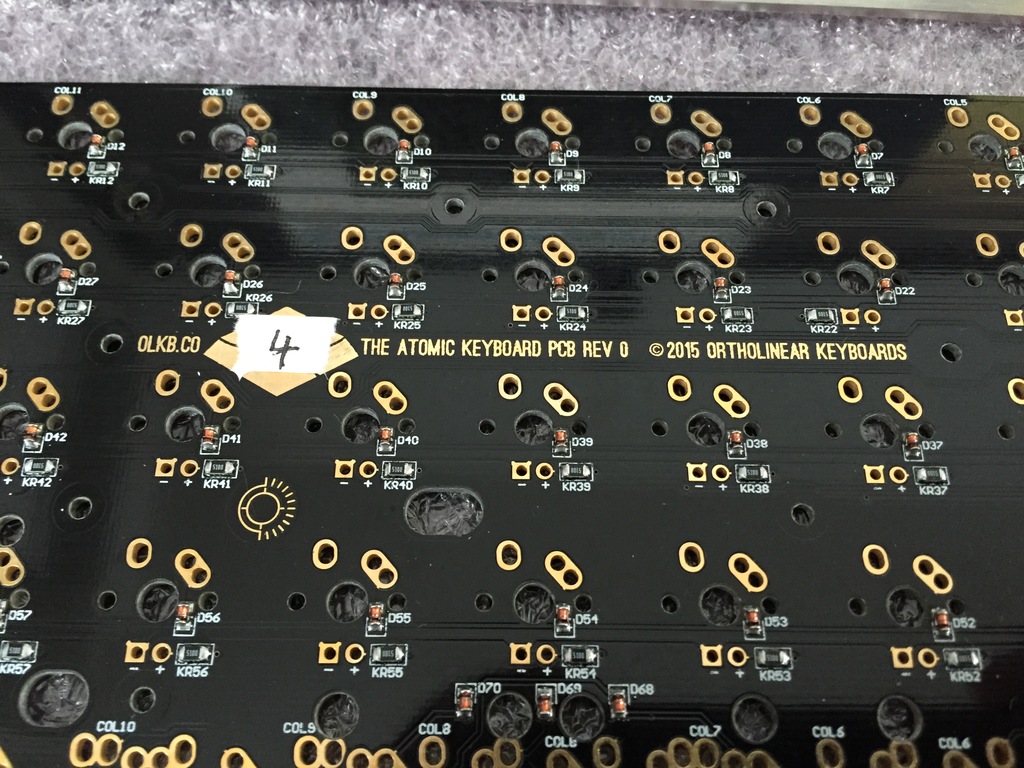
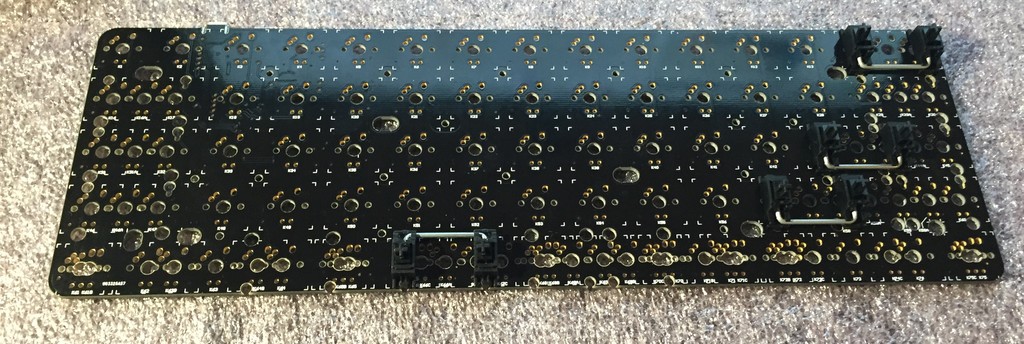
First step is.. well, unpacking the package and checking out that everything has arrived in perfect condition! Jack puts a lot of attention to the packaging of every order and my package was no exception! Everything was there and I just had to check that the PCB was in working condition by plugging it into the computer. Here are some photos of the unboxing and the working PCB! You can see that I got the PCB number 4 - exclusive prototype number! :like:

Assembly
Now that you have verified that the PCB is at least turning on, we need to start the assembly!
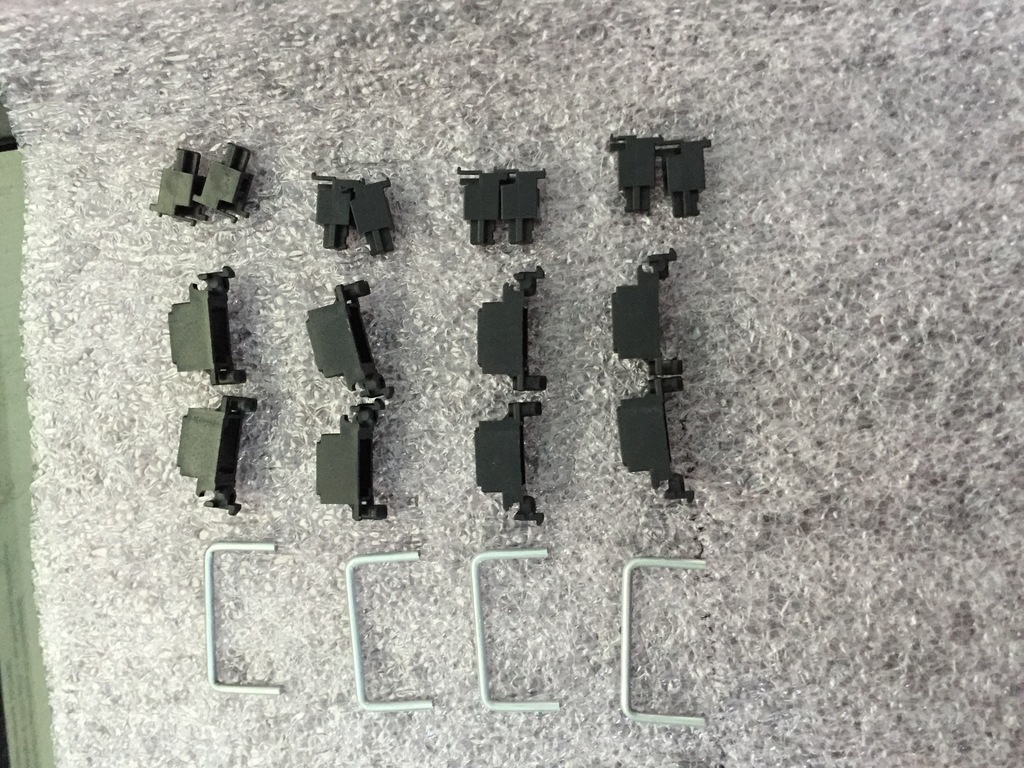
First, depending on your desired layout, you need to place the stabilizers - even before putting on the top plate and the switches. In my case I forgot to do that step and I only realized that I made that mistake after putting all the switches. I basically had to undo all the hard work and restart.
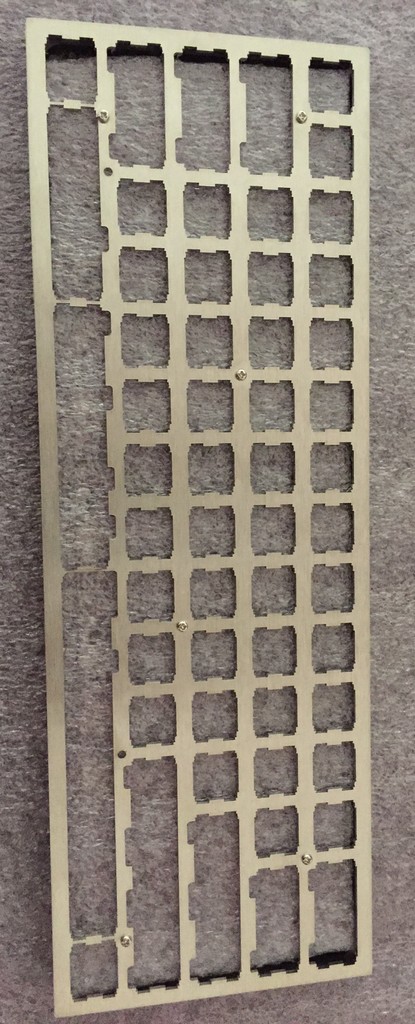
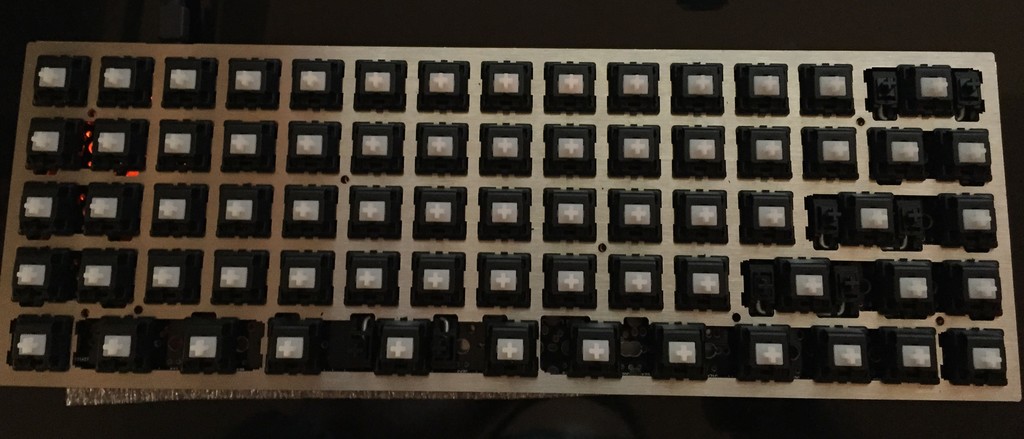
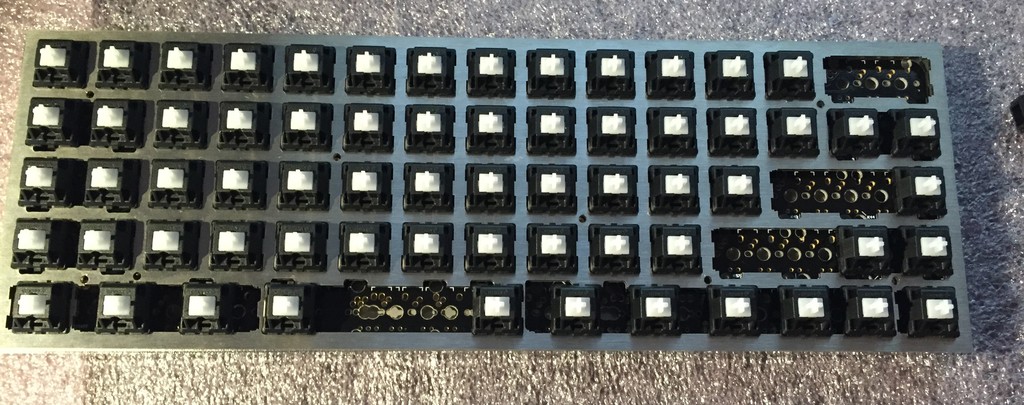
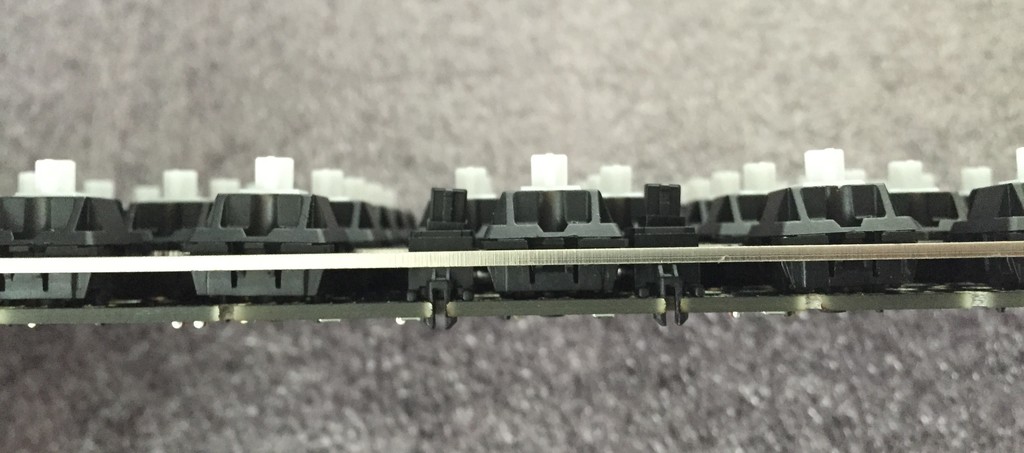
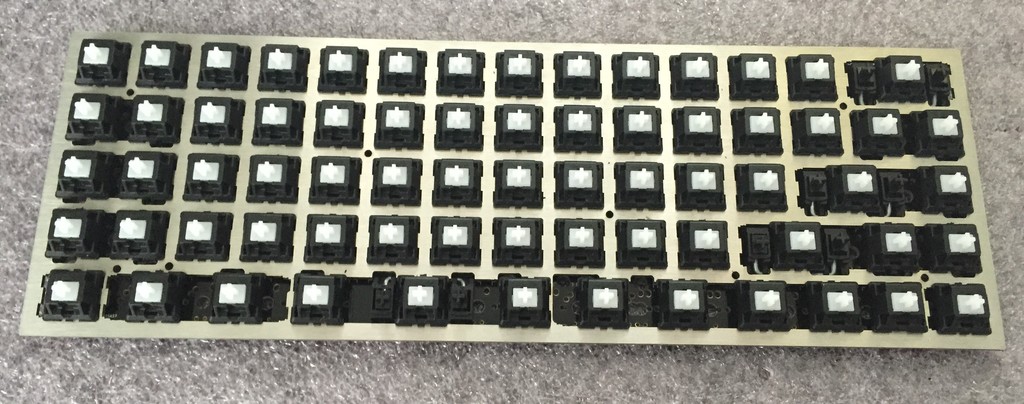
Second, you need to place the key switches into the plate and PCB. As the official guide recommends, place first few of those on the corners of the plate and push them to the PCB. Then, place everything on the bottom plate and place the rest of the switches.
When you are done placing the switches, make sure that all the switches are pushed correctly all the way through and that the PCB is flat (if done wrong, you will see that the PCB is curved where the switches are not through the PCB entirely). You should feel and check that all the pins are sticking out from the PCB.


Soldering
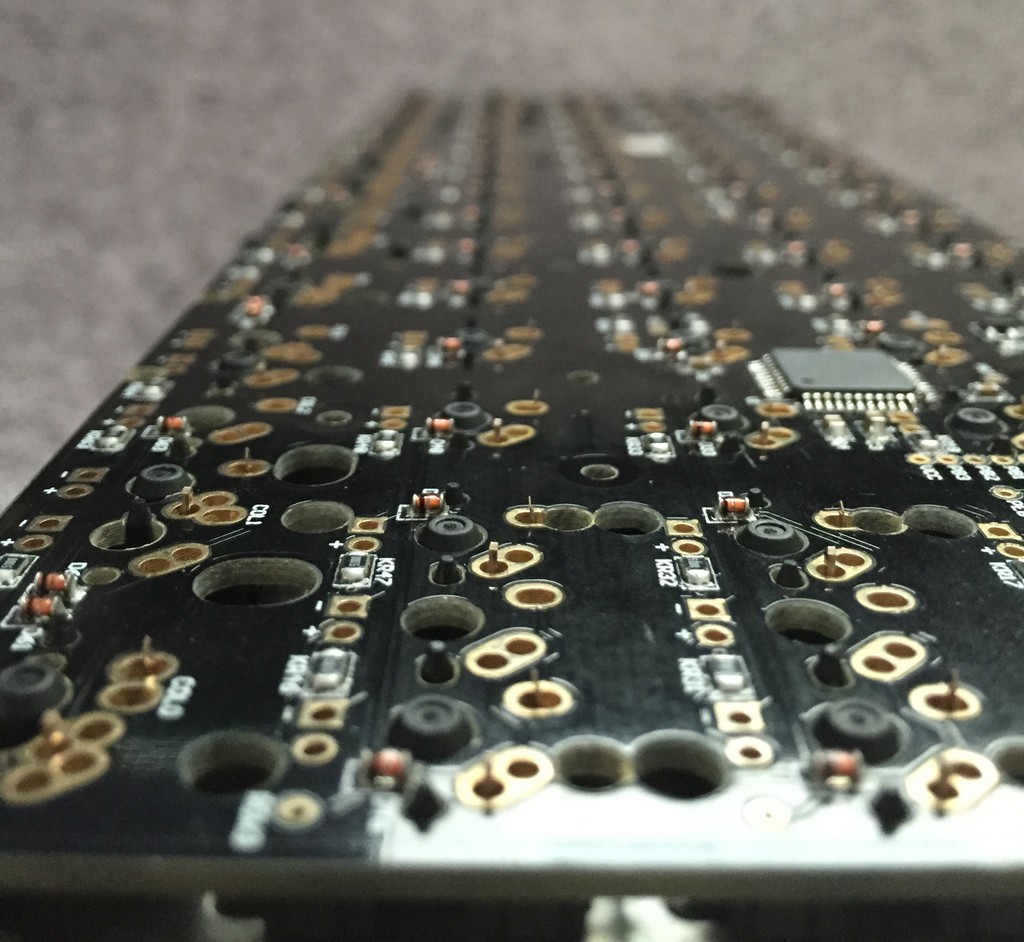
Now comes the fun part of the build - soldering. Make sure the soldering iron is hot and that you have enough air circulation in the room in order to avoid inhaling the soldering fumes. To solder a pin, place the tip of the soldering iron in between the pin and the PCB pad - it should touch both of these components - and then push the solder. You should make sure that the solder only goes onto the golden pad and doesn’t bridge with other components. For each switch you should solder 2 pins.
Inspection
Once you are done soldering all the pins, inspect them again and check the solder to ensure they have correctly settled. If you are sure every switch is correctly soldered, time to test: plug you keyboard again and press the different switches to verify they all work as expected. Note: depending on the layout you have selected, the switches might not output anything on an editor as they may be modifiers. In my case, I checked with a website that shows the key pressed: Keyboard Tester

Firmware programming
Once everything is ready, you can screw the keyboard to the case. Even if you do not have access to the botton in the back to reset the board for firmware flashing, there is actually a shortcut you can use to perform firmware commands on the keyboard - one of them being putting the keyboard in bootloader mode. It’s called the MagicKey and the shortcut is Magic + b. For the atomic, the MagicKey’s’ shortcut is LSHIFT + RSHIFT + space.
Quite useful to avoid having to unscrew you keyboard every time you want to change your keyboard layout!
I’m currently using quite a “vanilla” keyboard: layout, extended_keymap_sebasr.c